
Vikunja
docker-compose.yml
version: '3'
services:
vikunja:
image: vikunja/vikunja
environment:
VIKUNJA_SERVICE_PUBLICURL: https://vikunja.MEINEDOMAIN.DE
VIKUNJA_DATABASE_HOST: db
VIKUNJA_DATABASE_PASSWORD: MEINDB-PW-123 (gleiches wie unten)
VIKUNJA_DATABASE_TYPE: postgres
VIKUNJA_DATABASE_USER: vikunja
VIKUNJA_DATABASE_DATABASE: vikunja
VIKUNJA_SERVICE_JWTSECRET: GCP.........bjd ("openssl rand 32 -base64" in shell eingeben)
#EMAIL-Settings
#VIKUNJA_SERVICE_ENABLETASKATTACHMENTS: 1
#VIKUNJA_MAILER_AUTHTYPE: plain
#VIKUNJA_MAILER_SKIPTLSVERIFY: 1
#VIKUNJA_MAILER_FORCESSL: 1
VIKUNJA_SERVICE_ENABLEEMAILREMINDERS: 1
VIKUNJA_MAILER_ENABLED: 1
VIKUNJA_MAILER_HOST: smtp.MAILSERVER.DE
VIKUNJA_MAILER_PORT: 587
VIKUNJA_MAILER_USERNAME: USER@DOMAIN.DE
VIKUNJA_MAILER_PASSWORD: MEINMAILPW123
VIKUNJA_MAILER_FROMEMAIL: USER@DOMAIN.DE
#Allow New User Registration (Für ersten User auf true setzen, User anlegen und danach wieder auf false)
VIKUNJA_SERVICE_ENABLEREGISTRATION: false
ports:
- 3456:3456
volumes:
- app:/app/vikunja/files
- config:/etc/vikunja/
depends_on:
db:
condition: service_healthy
restart: unless-stopped
db:
image: postgres:16
environment:
POSTGRES_PASSWORD: MEINDB-PW-123 (gleiches wie oben)
POSTGRES_USER: vikunja
volumes:
- db:/var/lib/postgresql/data
restart: unless-stopped
healthcheck:
test: ["CMD-SHELL", "pg_isready -h localhost -U $$POSTGRES_USER"]
interval: 2s
volumes:
app:
db:
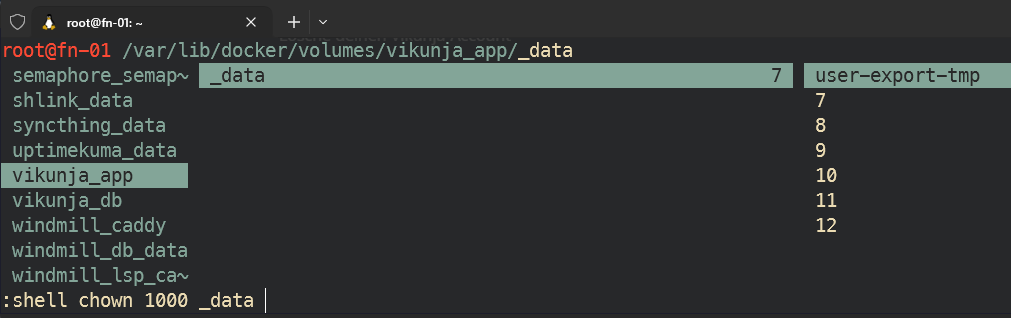
config:Schreibrechte für files erteilen
(default ist root user mit uid 1000 für den container)
Für Schreibrechte muss man noch den root user 1000 für das App-Volume berechtigen:
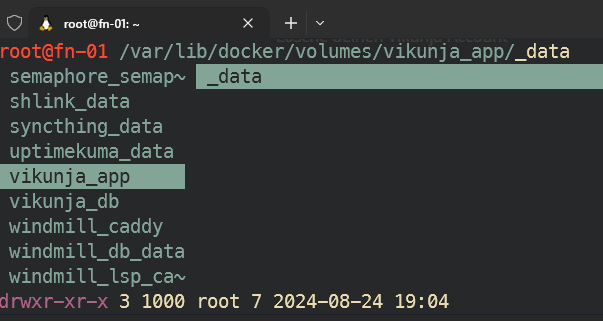
chown 1000 $PWD/fileszb in ranger mit Shortcut s um ein Shell-cmd einzugeben:
sieht danach so aus:
Account anlegen
dann die subdomain anlegen, Reverserproxy konfigurieren und domain aufrufen:
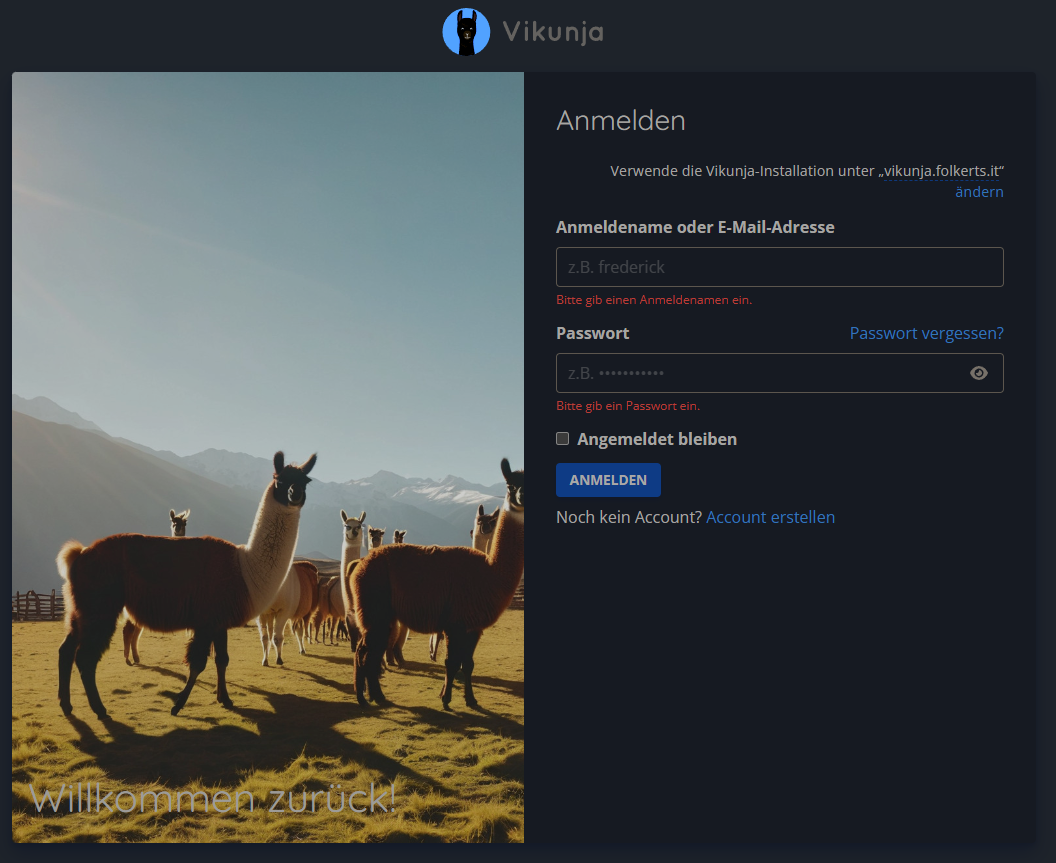
auf 'Account erstellen' und ersten bzw weitere Accounts erstellen.
Danach im Stack die env
VIKUNJA_SERVICE_ENABLEREGISTRATION=falsesetzen, um weitere Anmeldungen zu verhindern.
Authentik verknüpfen
für die config.yml, das volume config: verwenden und dort eine config.yml anlegen:
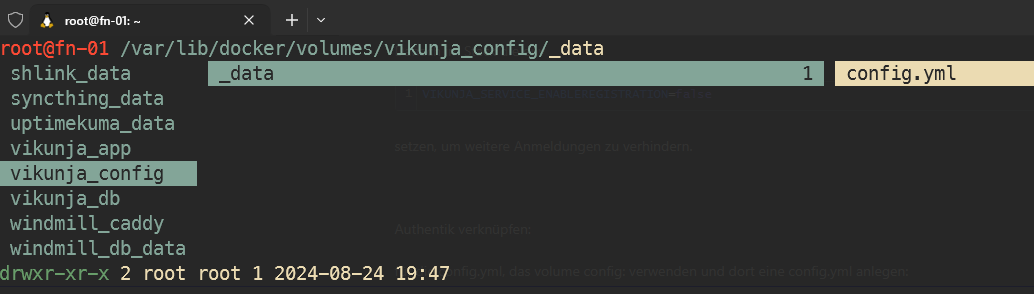
mit dem inhalt:
auth:
  # Local authentication will let users log in and register (if enabled) through the db.
  # This is the default auth mechanism and does not require any additional configuration.
  local:
    # Enable or disable local authentication
    enabled: true
  # OpenID configuration will allow users to authenticate through a third-party OpenID Connect compatible provider.<br/>
  # The provider needs to support the `openid`, `profile` and `email` scopes.<br/>
  # **Note:** Some openid providers (like gitlab) only make the email of the user available through openid claims if they have set it to be publicly visible.
  # If the email is not public in those cases, authenticating will fail.
  # **Note 2:** The frontend expects to be redirected after authentication by the third party
  # to <frontend-url>/auth/openid/<auth key>. Please make sure to configure the redirect url with your third party
  # auth service accordingly if you're using the default Vikunja frontend.
  # Take a look at the [default config file](https://github.com/go-vikunja/api/blob/main/config.yml.sample) for more information about how to configure openid authentication.
  openid:
    # Enable or disable OpenID Connect authentication
    enabled: true
    # A list of enabled providers
    providers:
      # The name of the provider as it will appear in the frontend.
      - name: "authentik Login"
        # The auth url to send users to if they want to authenticate using OpenID Connect.
        authurl: https://authentik.company/application/o/vikunja/
        # The client ID used to authenticate Vikunja at the OpenID Connect provider.
        clientid: THIS IS THE CLIENT ID YOU COPIED FROM STEP 1 in authentik
        # The client secret used to authenticate Vikunja at the OpenID Connect provider.
        clientsecret: THIS IS THE CLIENT SECRET YOU COPIED FROM STEP 1 in authentik
weiteres unter